When my boss recently asked me what gives me satisfaction at work, I didn't hesitate before responding.
"A big, fat challenge," I told her.
"Not a surprise to me," she responded.
I am director of a marketing communications department. My work day consists of managing quirky creatives and demanding clients. I'm never short of challenges.
But, at the moment I responded to my boss, it occurred to me that interesting, and often difficult, challenges offer me satisfaction, period. Not just at work. In my personal life, too.
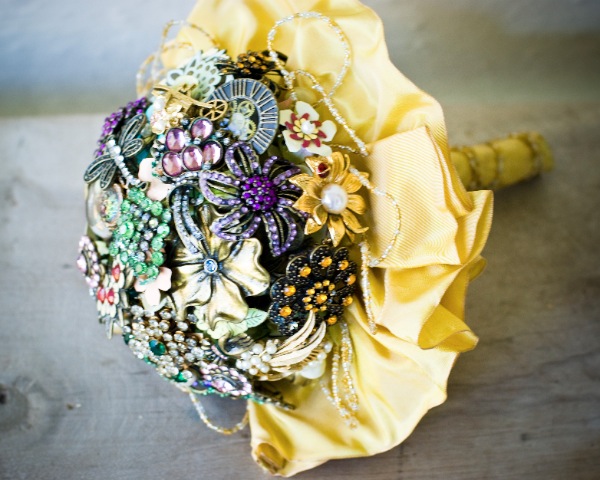
So when my son's fiancé recently asked if I'd be interested in making a brooch bouquet for one of her wedding clients, I accepted the challenge.
First thing I did? You guessed it. Googled brooch bouquets. Much to my surprise, and relief, the images and examples were endless. And, the number of tutorials was amazing.
The bride wanted a brooch bouquet with a twist: she wanted it to look like a baseball. No problem! Wonder if she knew our son played baseball for 15 years?
Couldn't find a baseball brooch bouquet, but found a carnation baseball bouquet.
This stunning work of art, made by Judy at
Fancy Pants Weddings, was my inspiration. Her tutorial is so good, I won't go into how to make one of these beauties. Judy's instructions are all you'll need if you want to try making your own bouquet for your special day. But, many other good how-to's are available online.
For the baseball bouquet, the bride agreed that a combination of silver, white, pearl and crystal would be a nice combination, creating the right combination of sparkle and a whitish background to represent the ball.
The bride collected some jewelry from her family. I had some nice pieces in the stash of vintage jewelry I use in my crafting. I scoured the thrift stores and also found some additional pieces online and at estate sales. The larger brooches can be supplemented by earrings, pendants and larger rings, if necessary. This bouquet used 64 pieces.
I wired each piece with floral wire and wrapped each with floral tape. This is the time-consuming phase. To stay on track, I started wiring as soon as I collected the first brooches and wired a few every night.
As I wired, I collected the stems in a vase to get a sense for when I had enough to form the bouquet.
About halfway through the creation of the bride's bouquet, she contacted me about creating one for her bridesmaid. We decided to make that one in red and silver.
Assembling the bouquet takes patience. Finding just the right combination to create a symmetrical shape isn't as easy as it may look. I learned early on that it wouldn't be perfectly round. After assembling the full bouquet, I let it sit for a couple of days. Stepping away from it allowed me see where it could use improvement. After a few days, I disassembled the entire bouquet and reassembled it with much better results.
I finished both bouquets in the red and navy colors of the wedding. The bride's bouquet has a double collar of red tulle and navy satin. The stem is embellished with a repurposed pearl and shell vintage bracelet. The bridesmaid's bouquet is finished with a single navy collar and silver lace trim on the stem.
I'm excited about the final product!
Oh, this was a fun challenge! For any bride-to-be who is creatively inclined and isn't pressed for time, this is definitely worth the effort. Don't be afraid to give it a try.
Make it a great day!
Linking to: