Showing posts with label Annie Sloan chalk paint. Show all posts

Saturday, March 28, 2015

1950s Chalkboard Gets a Chalk Paint Makeover


Seems somehow appropriate that this well-used 1950s chalkboard be made over with Annie Sloan Chalk Paint. This nice-sized board was an estate sale find.


The actual black chalkboard looked a bit like a spider web. It had hairline cracks all over.  As I often do, I forgot to take a before picture. This is a "semi before" shot after I had painted the chalkboard section with three coats of chalkboard paint.


The wooden frame was in good structural shape, but had lost its lustre. The chalkboard was well-worn. The bottom of the frame has a nice chalk-holder ledge.

My daughter-in-law has wanted a chalkboard for her kitchen for some time, so I thought I'd give this one a makeover for Meg.


I left the original sticker on the back to preserve its vintage character.


My son had refinished a vintage hotel mailbox unit I found at a local thrift store in ASCP Chateau Gray, which they repurposed for use as a sideboard in their dining room. I decided to stick with that color for the chalkboard frame. The colors of the two pieces are much closer in person than my photos show.


First I applied a coat of ASCP Graphite. Then I applied a coat of Chateau Gray over the Graphite. I used a sponge brush, but because I felt lazy and was on a tight timeline to finish this project before the kids came to visit, I used it almost like a dry brush. It's easy to do--just wipe most of the paint off the sponge on the side of the paint container.

I was going for a heavily distressed look, which I think it created. Best of all, there was no need to sand. Basically my lazy technique saved a whole step.


Finally, I applied a coat of ASCP clear wax.


I added a pretty canvas ribbon with a coordinating stripe and a vintage mini tart tin as an embellishment.


I finished it in time for the kids' visit. And, she liked it!


Make it a great day!
Links to:

Wednesday, May 21, 2014

Repurposed Wine Rack Is DIY Fabric Organizer


Let me set the stage:

I don't have a fancy schmancy craft room. What I have is the unfinished side of our basement where, for the original owner of our 50-year-old quasi cottage-style home, the wood and metal shop resided.

After we became empty nesters, I was determined to take up creative endeavors that I had abandoned more than 25 years ago, when the kids were young.

I know my way around a sewing machine and other artsy crafty tools, but neither hubby nor I are handy around the home. So, I made do with a simple facelift to the workshop. I pulled the doors off the cabinetry above the workbench, painted the cabinetry and bench and have called this crude space crafting home ever since.

I have an overabundance of fabric. The bigger pieces are stacked by color inside those cabinets I painted, visible at a glance without the cabinet doors. Organizing the remnants after I cut into the yardage has been more of a challenge.

Enter this odd-looking and probably homemade wine rack.


Standing more than four feet high, it's probably no surprise that it hadn't been snatched up by the second day of the rummage sale where I found it. For me, it was repurpose love at first sight. I knew instantly it would be the answer to my snarl of fabric remnants.

Even though it looks as if it were made of Tinker Toys, it is rock-solid sturdy.

Gave it a nice wash of Annie Sloan chalk paint. I liked the dark wood peeking through, so I only gave it a light coat, not worrying if it covered completely. And, frankly, the design of the piece made painting tedious.  Now it just looks distressed--without the extra effort to distress.


At first, I set the rack up vertically, which is the way it was designed.


After moving it around the workshop, I decided to place it horizontally on an old steamer trunk, which made it more accessible. No stooping all the way to the floor to reach the low rows.


So nice not to have to dig through piles to find just the perfect scrap.

Make it a great day!

Sunday, June 10, 2012

From Tossed Shelf to Top Shelf


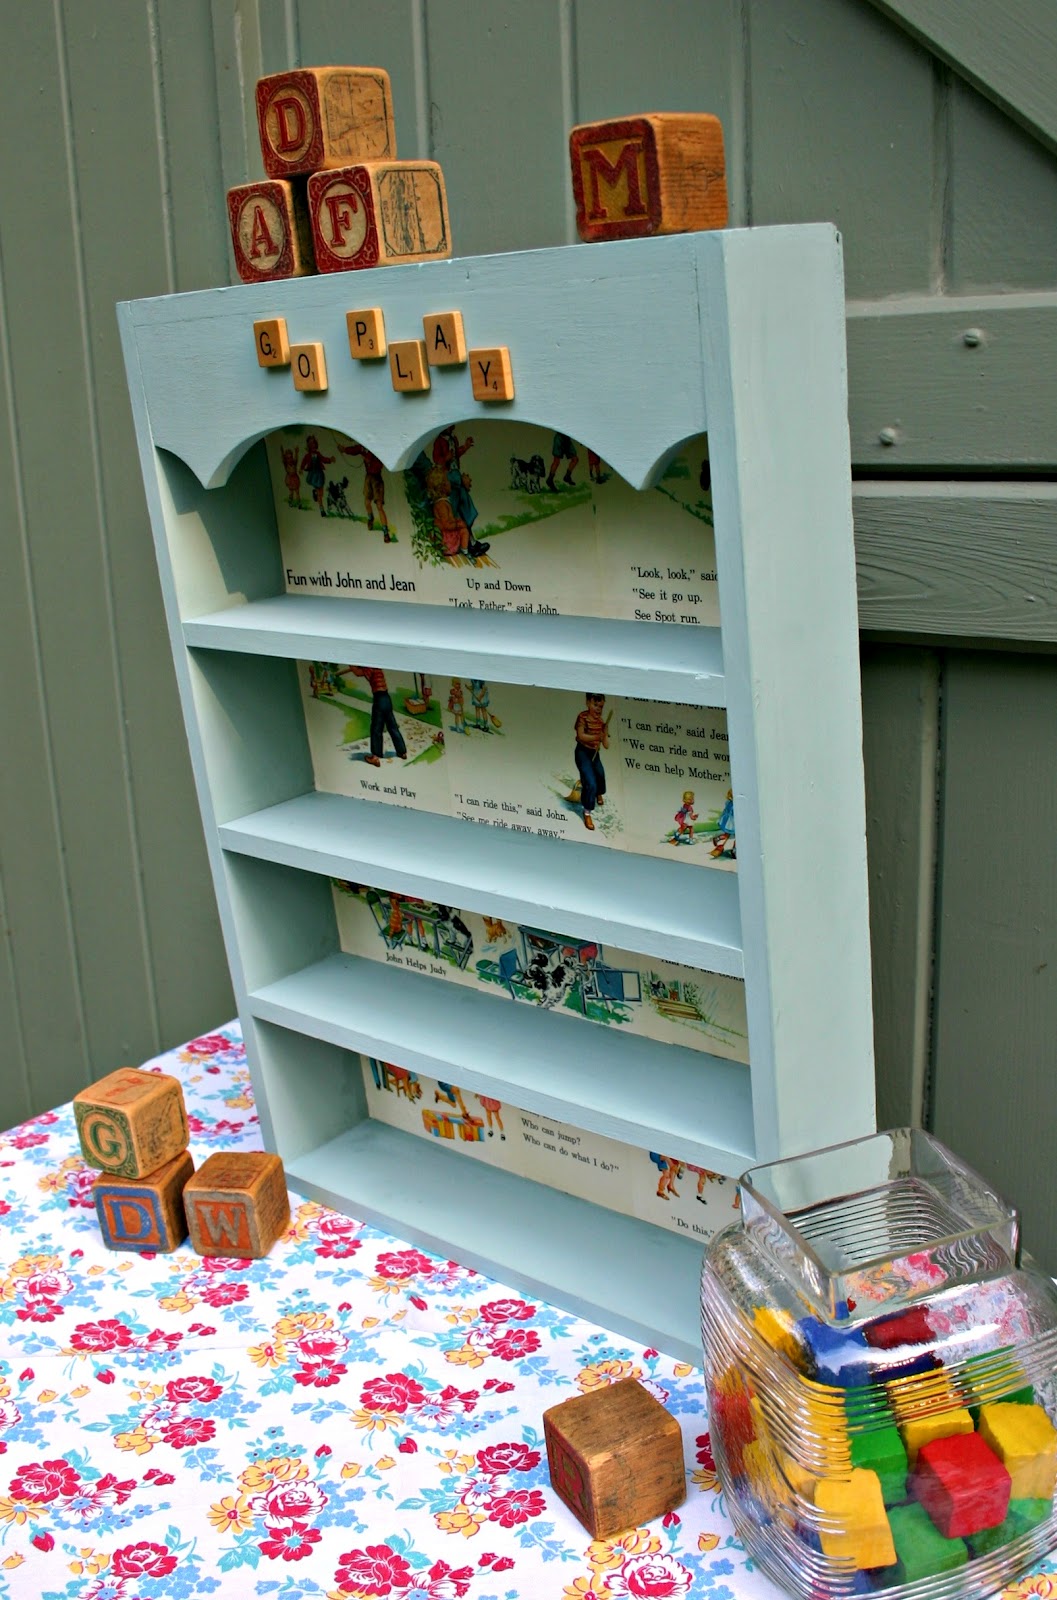
In literal terms, this what-not shelf wasn't actually tossed. But it was sentenced to a garage sale table  featuring nothing but 50-cent items. I snapped it up for a rainy-day project.


When I got the shelf home, I remembered this pitifully beat-up--or should I say scribbled up--1952 early reader, Fun with John and Jean, that I had picked up some time back for a quarter. It's easy to see why it was nearly a freebie. But, many of the pages remained in good shape and I thought I could combine the shelf and some images from the book to create a nice display shelf for a kid's room.


I'd been looking forward to cracking open my first quart of Annie Sloan Chalk Paint in Duck Egg Blue so chose it to give the shelf a facelift. I had intended to fully distress and dark wax the shelf. But, I so liked the look of the paint on its own, I decided to stop at that.


I've always loved the illustrations in these early readers and this book was no exception. After eliminating the scribbled pages, I was left with some very nice images to decoupage onto the inside back of the piece.


To add a playful touch, embellished the front panel with reclaimed Scrabble tiles.


Hang it on the wall, or stand it on top of a dresser or table. Either way, I think it looks pretty cute.


Make it a great day!

Saturday, March 17, 2012

A Gift Box 40 Years Later


Some time back, I bought an ugly-duckling of a box at a thrift store for 98 cents. It was wooden with a hinged lid that looked like it was intended for something like holding stationery and pens. 


Looks like someone had lovingly hand-painted the lid, signed it on the inside, created a nice velvet lining and given it as a gift back in 1972. I began sanding the paint off the lid before I remembered to take photos, so the Chinese letters that had been painted in super thick gold paint are almost gone at the time of this photo session.

Even though I chose to redo this box with Annie Sloan Chalk Paint, I had to give the lid a pretty deep sanding.  The decorative paint that had been applied back in the '70s, was so thick it had substantial ridges that would have shown through any new paint job.


After I applied a nice coat of ASCP Paris Grey, I used Rosemary's splendid blender pen transfer method to create the wonderful image from The Graphics Fairy. Then I distressed the entire piece. I followed that with a coat of Annie Sloan soft wax and then a light brushing of the dark wax for a more aged look.

In reality, though, it wasn't as simple as all that. When I tried the blender pen transfer the first time, rather than transfer the image, the blender pen simply stripped the paint off the lid. Not to be deterred, however, I painted just the image area with another coat of Paris Grey, let it dry, and added a second coat to that small area. And, believing that the third time was bound to be the charm, I added a third coat for good measure. It worked!


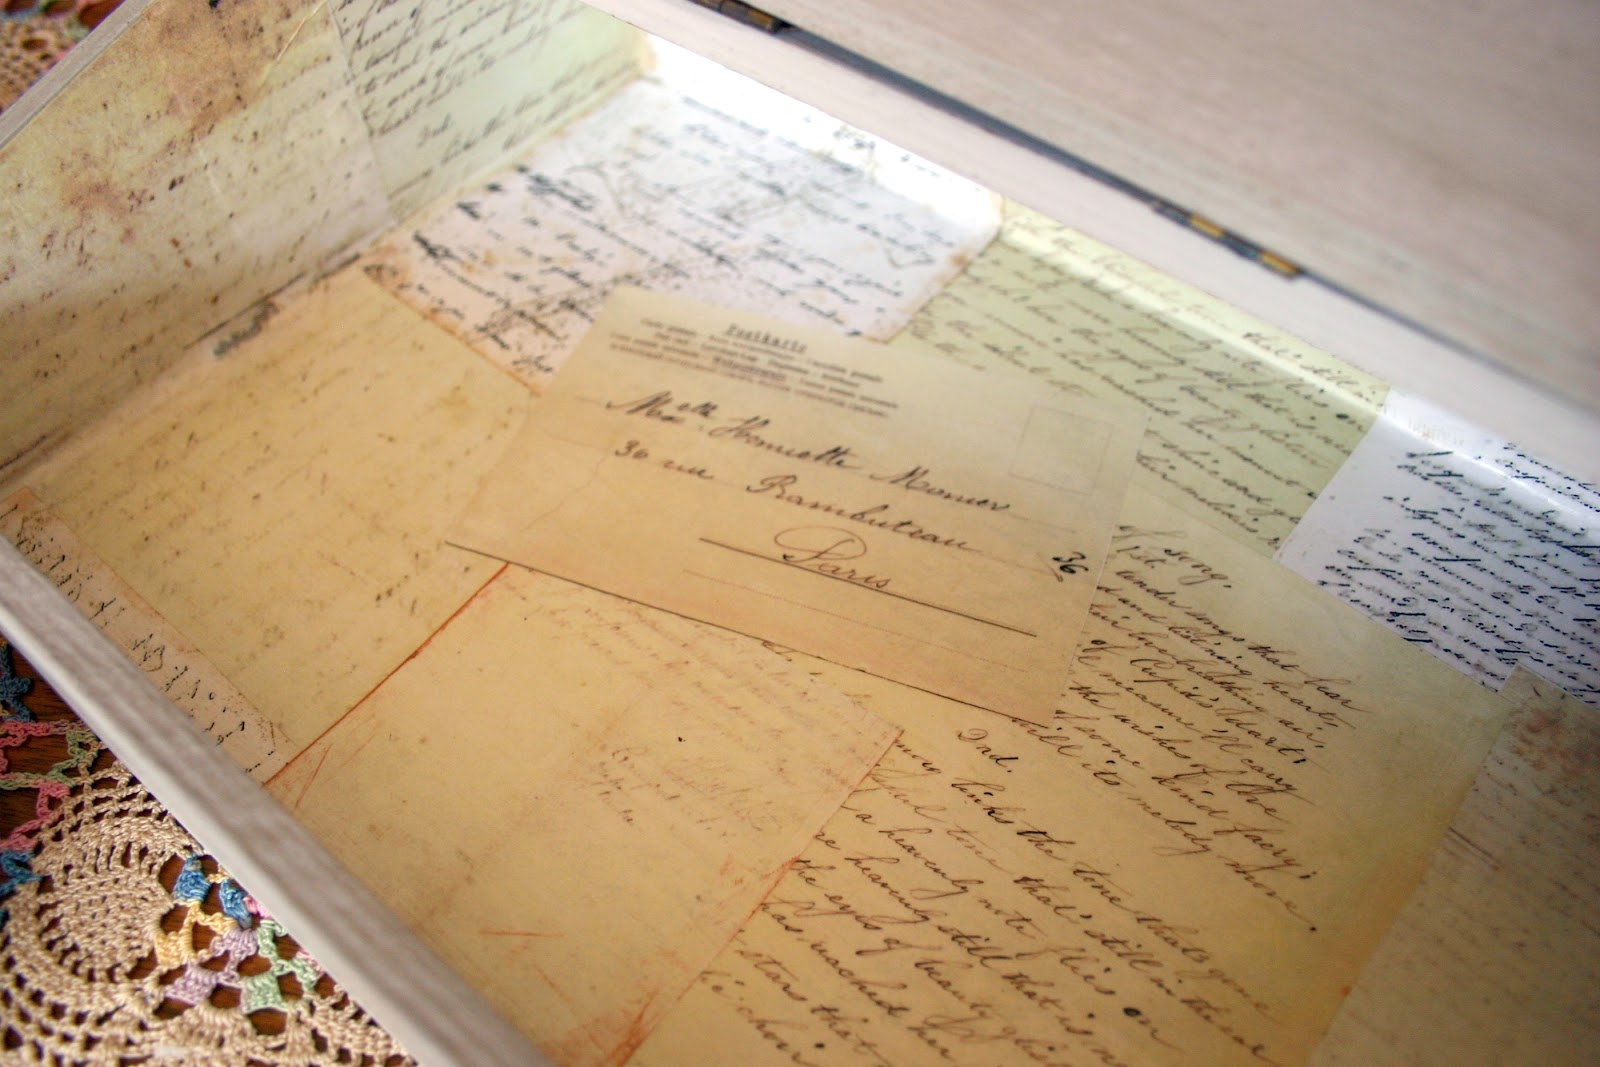
I replaced the red velvet lining with a nice selection of handwritten papers, a couple of which also are from Karen's wonderful collection at The Graphics Fairy. After positioning and repositioning the pieces a few times and finding the arrangement I liked, I attached each with a thin coat of Mod Podge and then gave the entire inside a generous coat of matte finish Mod Podge to seal it.

The hinges were in good shape, but tarnished. Even so, I wanted a more aged look, so added some black acrylic paint with a soft cloth, removed the excess paint and sealed it with a clear spray-on sealer.


As I sit here at my laptop and review the photos of this lovely reclaimed stationery box, I suddenly have an urge to handwrite someone a personal note.

Make it a great day!