Showing posts with label paint. Show all posts

Thursday, October 16, 2014

Charming Halloween Baskets in 4 Easy Steps


Looking for a simple, inexpensive way to add a bit of Halloween charm to your fall decor?

This summer, I bought up a lot of peat pots of various shapes and sizes at an estate sale. I've made simple peat pot baskets before and have enjoyed incorporating them into vignettes. With my latest acquisition of peat pots, I decided to go with a Halloween theme.

As usual, I forgot to photograph the "in progress." But, I can assure you this project can be completed in 4 easy steps.

Choose the images you want to use and print them on card stock, sized to fit your peat pots. I found my images at The Graphics Fairy.


Paint your peat pot the color of your choice. A light coat of paint works best. Don't worry if the original pot surface peeks through. The charming result is a slightly distressed and rustic appearance. Peat pots are absorbent, so a heavy coat of paint can cause the pot to warp when it dries. 


Adhere your  image to the peat pot with craft glue or Mod Podge. Again, the absorbency of the pot comes into play. It will soak up some of the glue, so cover the back of the image completely with a thick coat. Let the application dry completely before beginning the decorating phase.


Now, embellish, embellish, embellish! I used vintage buttons, paper flowers, glitter, twine, paper doilies, rick rack and vintage lace. Some pots are finished off with rustic, wrapped wire handles and vintage lace from a 1940s wedding dress and filled with Spanish moss. Others are topped with glittery tulle inserts I made from extra wide tulle ribbon.


Make it a great day!
Linking to:

Thursday, May 29, 2014

To Paint or Not to Paint?


Years ago, I found this terrific metal chair at a local thrift store for $3. It was love at first sight, even though I didn't know exactly where or how I would use it.

Over the years, I collected three more. I picked them all up at the same thrift store. All at different times. All for the same low price of $3. In the back of my mind, I envisioned painting them bright colors and strategically placing them in our vast backyard garden.


They might look at home alongside the vintage bicycle and tricycle.


When I recently pulled the chairs out of the back shed where I had stored them out of sight since I purchased the last one,  I was surprised at how rich the rust and chipping really was.

I like it so much I'm thinking about not painting, but instead, simply applying a clear coat sealant to prevent further deterioration.


What would you do? Paint or not paint? Give me your thoughts by leaving a comment.

Make it a great day!
Linking to:

Wednesday, May 21, 2014

Repurposed Wine Rack Is DIY Fabric Organizer


Let me set the stage:

I don't have a fancy schmancy craft room. What I have is the unfinished side of our basement where, for the original owner of our 50-year-old quasi cottage-style home, the wood and metal shop resided.

After we became empty nesters, I was determined to take up creative endeavors that I had abandoned more than 25 years ago, when the kids were young.

I know my way around a sewing machine and other artsy crafty tools, but neither hubby nor I are handy around the home. So, I made do with a simple facelift to the workshop. I pulled the doors off the cabinetry above the workbench, painted the cabinetry and bench and have called this crude space crafting home ever since.

I have an overabundance of fabric. The bigger pieces are stacked by color inside those cabinets I painted, visible at a glance without the cabinet doors. Organizing the remnants after I cut into the yardage has been more of a challenge.

Enter this odd-looking and probably homemade wine rack.


Standing more than four feet high, it's probably no surprise that it hadn't been snatched up by the second day of the rummage sale where I found it. For me, it was repurpose love at first sight. I knew instantly it would be the answer to my snarl of fabric remnants.

Even though it looks as if it were made of Tinker Toys, it is rock-solid sturdy.

Gave it a nice wash of Annie Sloan chalk paint. I liked the dark wood peeking through, so I only gave it a light coat, not worrying if it covered completely. And, frankly, the design of the piece made painting tedious.  Now it just looks distressed--without the extra effort to distress.


At first, I set the rack up vertically, which is the way it was designed.


After moving it around the workshop, I decided to place it horizontally on an old steamer trunk, which made it more accessible. No stooping all the way to the floor to reach the low rows.


So nice not to have to dig through piles to find just the perfect scrap.

Make it a great day!

Tuesday, June 18, 2013

Vintage Jars Add Charm to Antique Toolbox


The spring weather this year has been about as strange as I can remember. Late snows and cooler-than-normal temperatures caused everything to get a late start. But, despite the odd weather, the volume of blooms on my Knockout roses are thick and intense.


Last week, I showed you the primitive handmade wooden tool box I purchased at an estate sale. For now, I decided to dress it up with some of my vintage jars and roses from my garden. It now sits pretty on my dining room window seat.


I have an eclectic collection of vintage jars and bottles that seemed a perfect pairing for the rustic tool box.


My grandmother had jars similar to the painted pair with flower decals. I was tickled pink to find this distressed pair at an estate sale a couple of years ago. Displaying them brings back such wonderful memories of summer days on my grandparents' farm.


Simple. Sweet. Charming.

Make it a great day!
Linking to:

Wednesday, May 1, 2013

May Baskets and a Photo a Day


As a young child, May Day and the tradition of delivering and receiving May baskets held such delight for me. I loved the thrill of quietly placing a homemade basket filled with candy and violets from our garden on friends' porches, ringing the doorbell and running for dear life.

To this day, whenever I work with construction paper, pipe cleaners and paper doilies, I'm reminded of May Days past.

Since my children have long since left the nest, the basket tradition is a thing of the past for me. In fact, I'd venture to guess that the tradition has all but disappeared in many American neighborhoods.


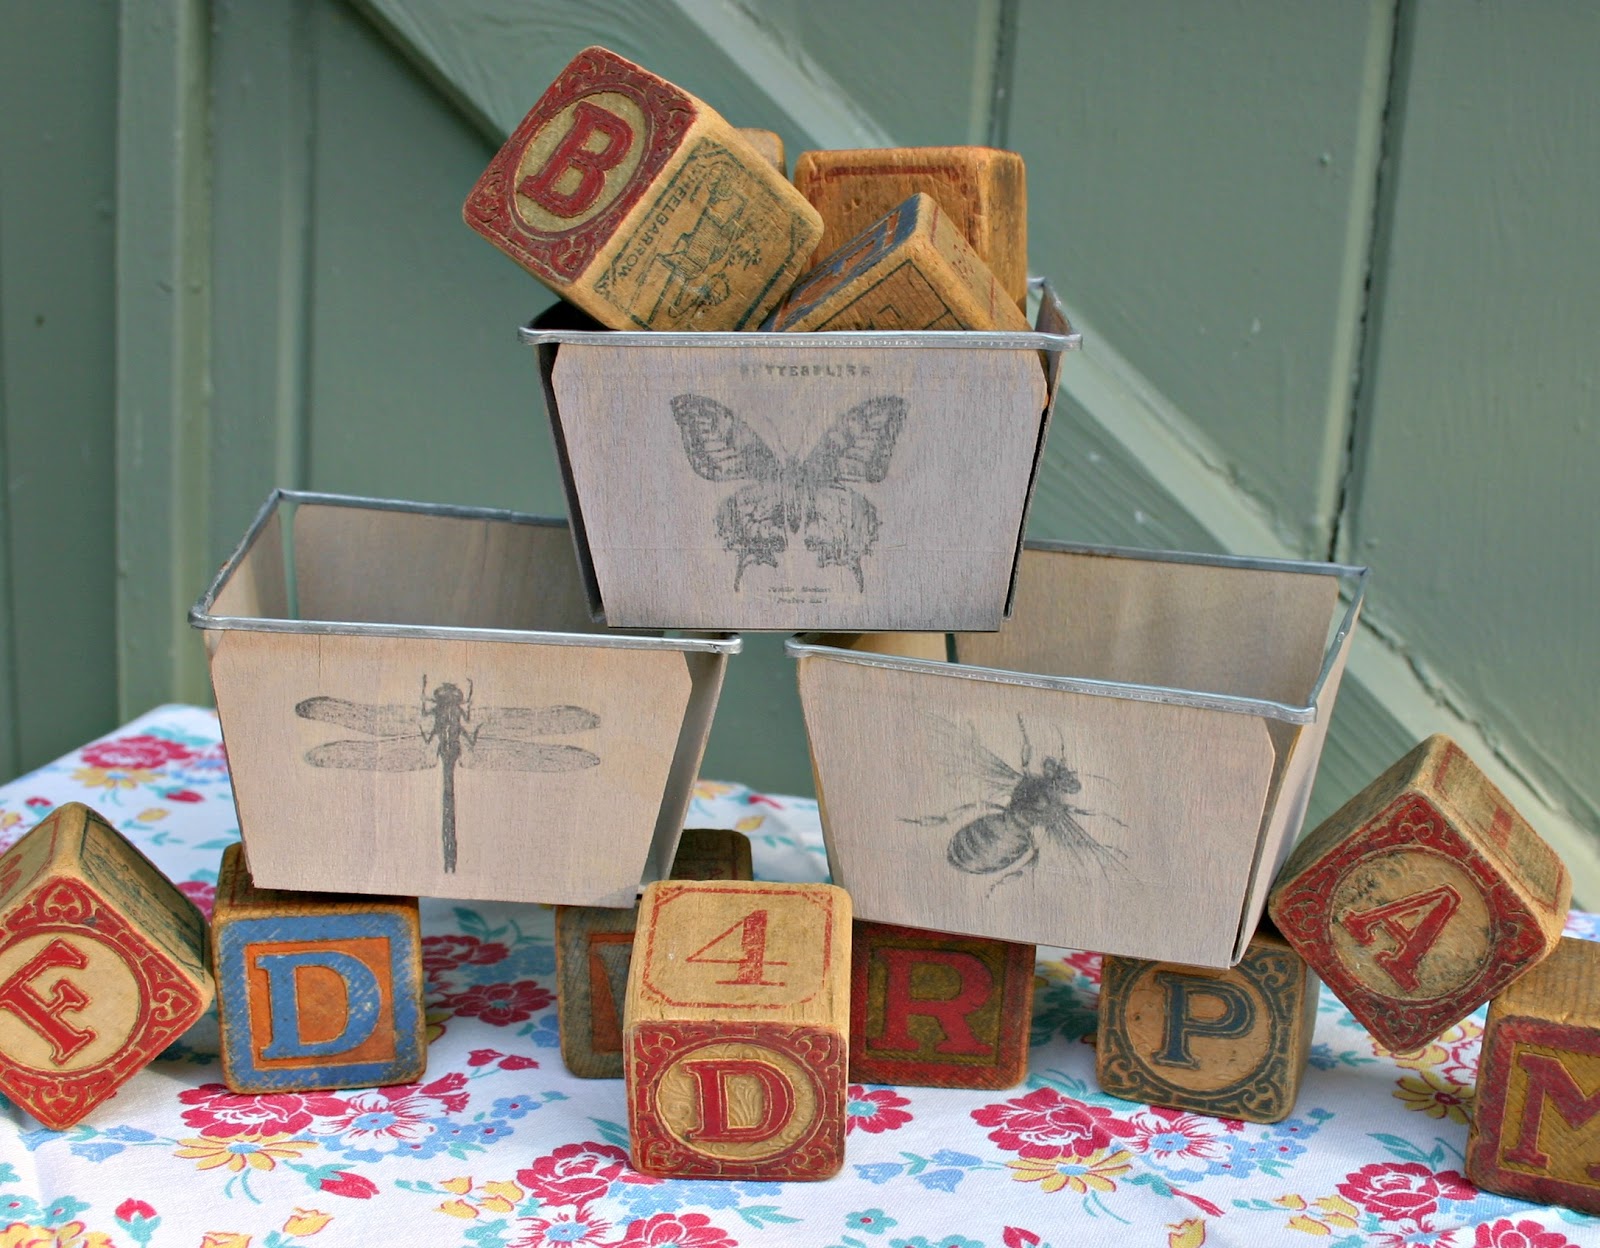
Last year, I commemorated May Day by paint washing and embellishing the berry baskets above. Recently, I again got the itch to create a couple of pretties in the spirit of May baskets to fill a couple of gaps in my spring vignettes.

They started as peat pots I picked up at an estate sale. I painted them--one an icy blue, the other a mixture of a couple of earthy colors that resulted in a pale terra cotta that I then dry brushed in a creamy white.


I found a lovely French label graphic at The Graphics Fairy to add to the blue pot. I combined three of Karen's images--a sweet little bird, a beautiful crown and an elegant frame--to create the image in its crowning glory that now graces the terra cotta pot.


To give a slight aged look to the bird basket, I  distressed the image lightly using stamping ink. I Mod Podged the images onto the pots. As a finishing touch, I added wisps of vintage seam tape in complementary colors.


The pots by themselves looked a bit naked so, out of some raw materials I had laying around, I stitched up some little pouches to scrunch up inside the pots. Both pouches are made from wide  ribbon--one sparkly tulle, the other vintage net.  I simply folded the ribbon over on itself and stitched up each side to create the pouch.


No more stealth deliveries to friends on May Day, but that doesn't mean I can't enjoy creating a grown-up version of the May basket.

NATIONAL PHOTO MONTH

May is National Photo Month. Today is Day 1 of my attempt at posting a photo a day.

Today's photo is a version of the French blue peat pot on a wonderful background texture called "Stay," created by Kim Klassen. Kim's creations are exquisite and worth a visit to her site.


Hope you'll come back each day and join the photo fun.


Make it a great day!
Linking to:

Wednesday, April 10, 2013

Look What I Found


It's been a while since I shared any vintage finds. A number of excellent estate sales over the past few weekends have made shopping interesting. This time of year, though, I usually pull back a little on purchasing treasures. Maybe it's in anticipation of garage sale season. Maybe I just need a breather after the holidays.

A couple of my favorite recent finds are these two metal cabinets. Hubby and I found the taller one at Fred & Ethel's on a recent trip to Rock Island, Ill. When my son purchased one just like this last year, I have to admit I wanted it so bad. Now I have my very own!

The smaller cabinet was an estate sale find. The paint is pretty chipped up and the decals have got to go! Both pieces could benefit from a nice coat of jewel-tone paint.


Other estate sale goodies:

A wonderful lot of 96 tiny tart tins. Can you believe the entire bunch cost $2.00? Whoo-hoo. Many of these will reappear with an entirely different look for the holidays later this year.


A vintage April Showers powder tin is perfect for the rainy weather we've been experiencing the past several days (it's snowing this evening, though). I love the pretty shade of spring green.


I've always had a soft spot for these crocheted bonnet pincushions. Sweet spring colors and each is embellished with small crocheted and straw flowers. A nice addition to my sewing space.


I'll save a few other treasures for another post. What treasures have you found lately?

Make it a great day!
Linking to: