Showing posts with label blender pen. Show all posts

Saturday, March 17, 2012

A Gift Box 40 Years Later


Some time back, I bought an ugly-duckling of a box at a thrift store for 98 cents. It was wooden with a hinged lid that looked like it was intended for something like holding stationery and pens. 


Looks like someone had lovingly hand-painted the lid, signed it on the inside, created a nice velvet lining and given it as a gift back in 1972. I began sanding the paint off the lid before I remembered to take photos, so the Chinese letters that had been painted in super thick gold paint are almost gone at the time of this photo session.

Even though I chose to redo this box with Annie Sloan Chalk Paint, I had to give the lid a pretty deep sanding.  The decorative paint that had been applied back in the '70s, was so thick it had substantial ridges that would have shown through any new paint job.


After I applied a nice coat of ASCP Paris Grey, I used Rosemary's splendid blender pen transfer method to create the wonderful image from The Graphics Fairy. Then I distressed the entire piece. I followed that with a coat of Annie Sloan soft wax and then a light brushing of the dark wax for a more aged look.

In reality, though, it wasn't as simple as all that. When I tried the blender pen transfer the first time, rather than transfer the image, the blender pen simply stripped the paint off the lid. Not to be deterred, however, I painted just the image area with another coat of Paris Grey, let it dry, and added a second coat to that small area. And, believing that the third time was bound to be the charm, I added a third coat for good measure. It worked!


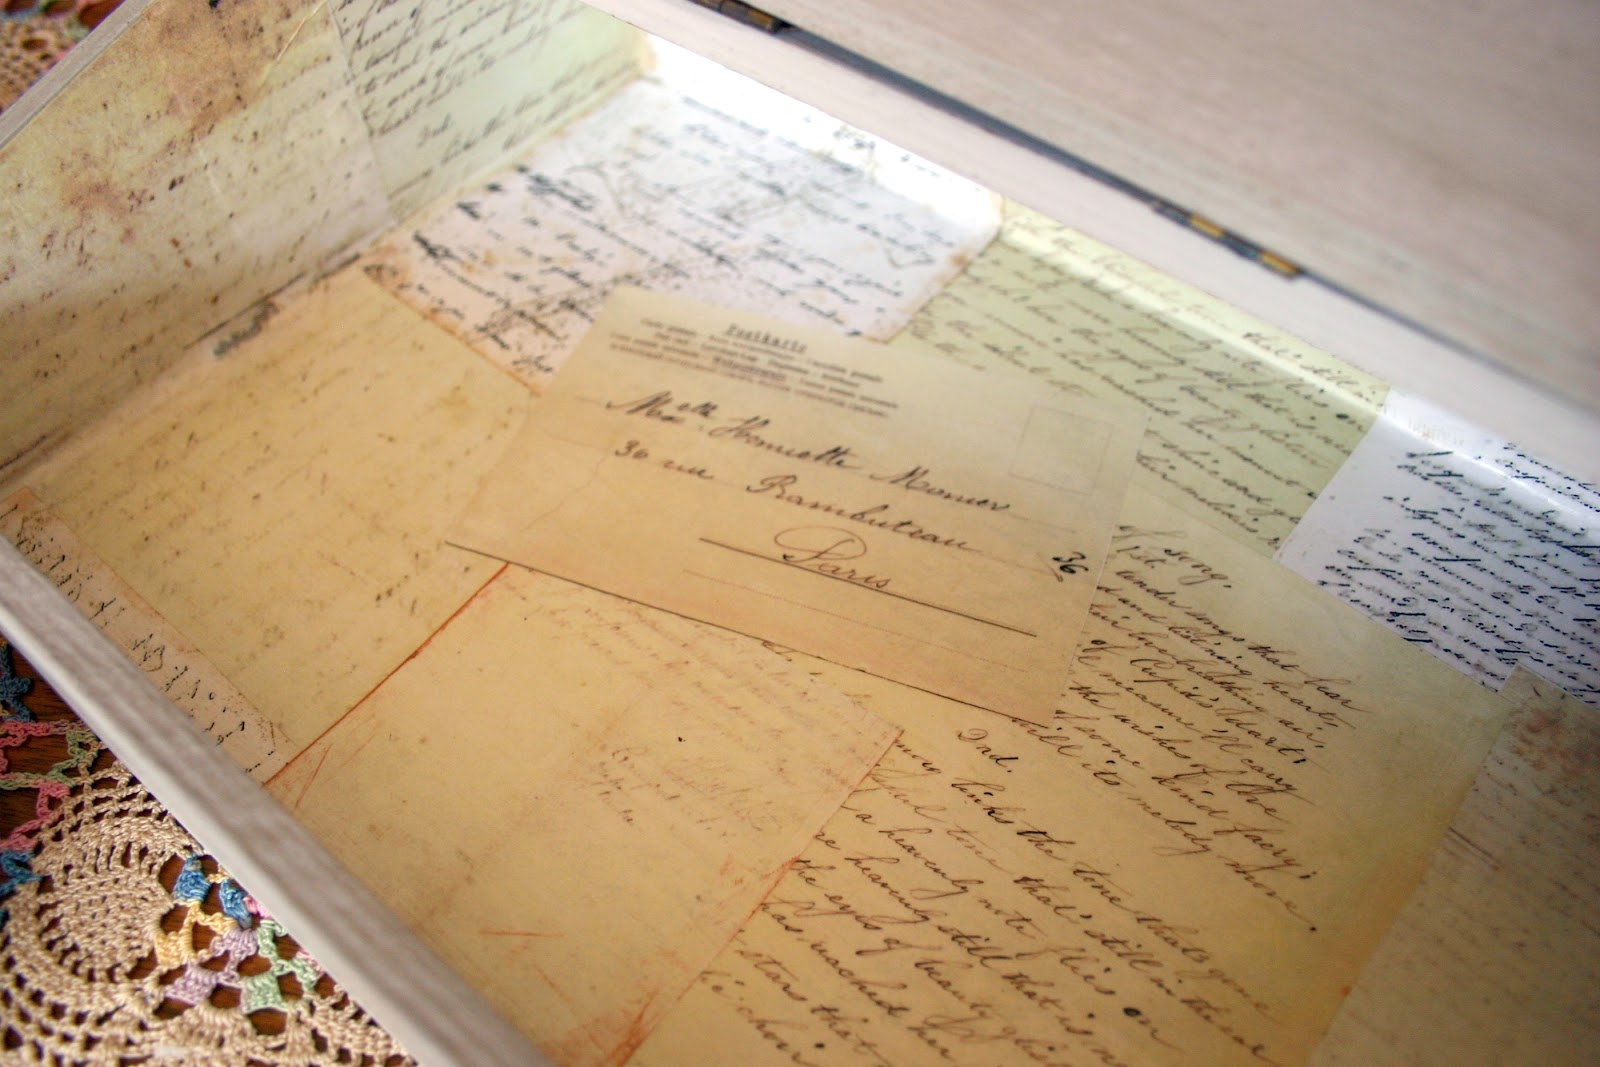
I replaced the red velvet lining with a nice selection of handwritten papers, a couple of which also are from Karen's wonderful collection at The Graphics Fairy. After positioning and repositioning the pieces a few times and finding the arrangement I liked, I attached each with a thin coat of Mod Podge and then gave the entire inside a generous coat of matte finish Mod Podge to seal it.

The hinges were in good shape, but tarnished. Even so, I wanted a more aged look, so added some black acrylic paint with a soft cloth, removed the excess paint and sealed it with a clear spray-on sealer.


As I sit here at my laptop and review the photos of this lovely reclaimed stationery box, I suddenly have an urge to handwrite someone a personal note.

Make it a great day!

Thursday, January 12, 2012

Double the Fun Footstool--A Quick Tutorial


Don't forget to enter the ephemera journal giveaway HERE 
before midnight, CST, Jan. 27.


This little footstool has been in our library for a couple of years now. It was an estate sale find I picked up on the half-price day for a couple of dollars.

It's not a total ugly duckling, but I've always intended to pretty it up a bit with a new cushion and maybe a new finish. I'm guessing this cushion was not the original. We have several travel-themed touches around our home, but this dark, postcard-y tapestry fabric is just so . . uh. . . '90s.

Recently, I've seen several blog posts about two techniques that totally intrigue me and realized I could try both out on this nice little footstool. How exciting--two major thrills in one project!

I've been dying to try liming wax on a wood piece.  This is a very simple technique using Briwax Liming Wax. I couldn't find this product in my location, so I ordered it, along with Briwax clear and dark waxes (for use on other projects), on Amazon.


The posts I'd read about liming wax all recommended using it on an open-grained wood, which this stool had. After starting the process, I could see why that was important. The wax, which leaves a white-ish residue, fills the open grain and creates the subtle aged look. If you're trying this on a more closed-grain wood, the Briwax website recommends creating an artificial open grain by running a wire brush over the wood.


The application is simple. Wearing rubber gloves in a well-ventilated area, just wipe it on with a soft cloth such as an old T-shirt. Let the wax dry a while and rub it off. You need to put some muscle behind your rubbing to ensure you remove all the wax residue from the surface.

If you want a very subtle effect, let the wax dry less time. For a more aged appearance, let the wax dry longer. I waited about 10 minutes before rubbing it off. I probably could have left it longer. I ended up with a subtle aged look--a very nice grayish white.


For the cushion of the stool, I chose a beautiful vintage image from The Graphics Fairy to transfer onto a remnant of muslin I already had.


Now for the second thrill--I chose to try the blender pen transfer method. There are several brands of blender pen available. I purchased mine from Blick's for $3.95.

You must make a laser print of your graphic. Inkjet prints will bleed. Remember to reverse your image if it has lettering on it.

I securely taped the image face down to the muslin to hold it in place while transferring. In very small segments, I rubbed over the image until the paper was saturated and the image showed clearly through. While the paper was still saturated, I burnished each segment with a folding bone (you could also use the bowl of a spoon). I had to burnish quickly, as the blender pen solution evaporates and dries quickly. And, wow, does it give off dizzying fumes! I worked with an outside door open to keep from getting light-headed.

This method is a snap. It would be a bit time-consuming on a very large piece, but it's so easy to do.

I gave the muslin a couple of light coats of stain- and waterproofing spray and covered the original cushion with it. A quick re-assembly with the stool frame and voila! A sweet little redo.


Make it a great day!